

How it works
The connection has a Chamelio side and a Zip side:
When it runs:
- A Zip request reaches the approval step where your custom app sits.
- The app reads the request and calls Chamelio to start your Zip flow. The request’s answers fill the flow’s intake fields, and its files come along as attachments.
- Chamelio links the task to the Zip request through the ZIP Request ID and ZIP Workflow ID intake fields.
- Legal works the task in Chamelio, as in any other flow.
- Comments sync both ways: comments on the Chamelio task are posted on the Zip request, and comments added in Zip appear on the Chamelio task.
Before you start
- Zip turned on for your organization by your Chamelio legal engineer
- A Chamelio account with Admin permission
- A Zip admin, or a Zip user in the Manage company API keys permission group
- Zip App Studio on your Zip plan, to build the custom app
Step 1: Create a Zip API key
Your Zip admin does this in Zip:1
Open the API settings
In Zip, click the gear icon at the top of the page and select Company settings. Under Setup, click API.
2
Create the key
On the API keys tab, click + Create API key. Give it a name, for example
Chamelio.3
Copy the key
Click Create and copy the key from the Save API key dialog. Zip shows the full key only once.
Step 2: Connect Zip in Chamelio
1
Open Org Integrations
In Chamelio, go to Settings > Org Integrations.
2
Enter the API key
On the Zip card, click Connect. In Connect Zip, paste the key into API Key and click Connect.
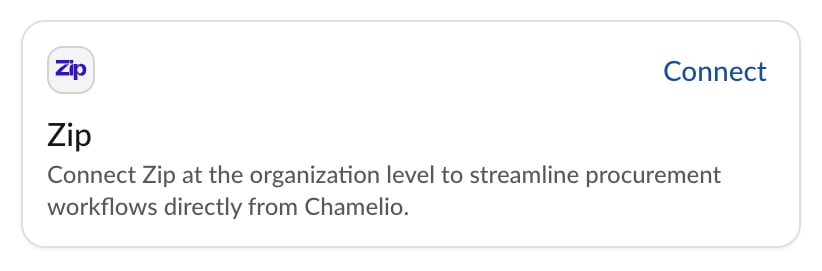
The Zip card in Settings > Org Integrations
Step 3: Build the Zip flow in Chamelio
1
Start the flow from Zip
Open the flow in the flow builder. In the Intake step, select Zip under Start from…. The intake gets the ZIP Request ID and ZIP Workflow ID fields, which link each task to its Zip request.
2
Add the fields Zip sends
Add an intake field for each value the Zip request sends, such as the supplier name, the amount or the vendor’s paper. Note each field’s name: the custom app sends values by these names.
3
Build and publish
Add the review, approval and signature steps legal needs, then publish the flow. Only published flows can be started from Zip.
Step 4: Create a Chamelio API key
The Zip app calls the Chamelio API with its own key. In Chamelio, go to Settings > Developer, open the API Key tab and click Create API Key. Copy the key for the next step. See API keys.Step 5: Build the custom app in Zip App Studio
In Zip App Studio, your Zip admin builds a custom app that starts the Chamelio flow. Your Chamelio legal engineer can build it with you. A typical app has these steps: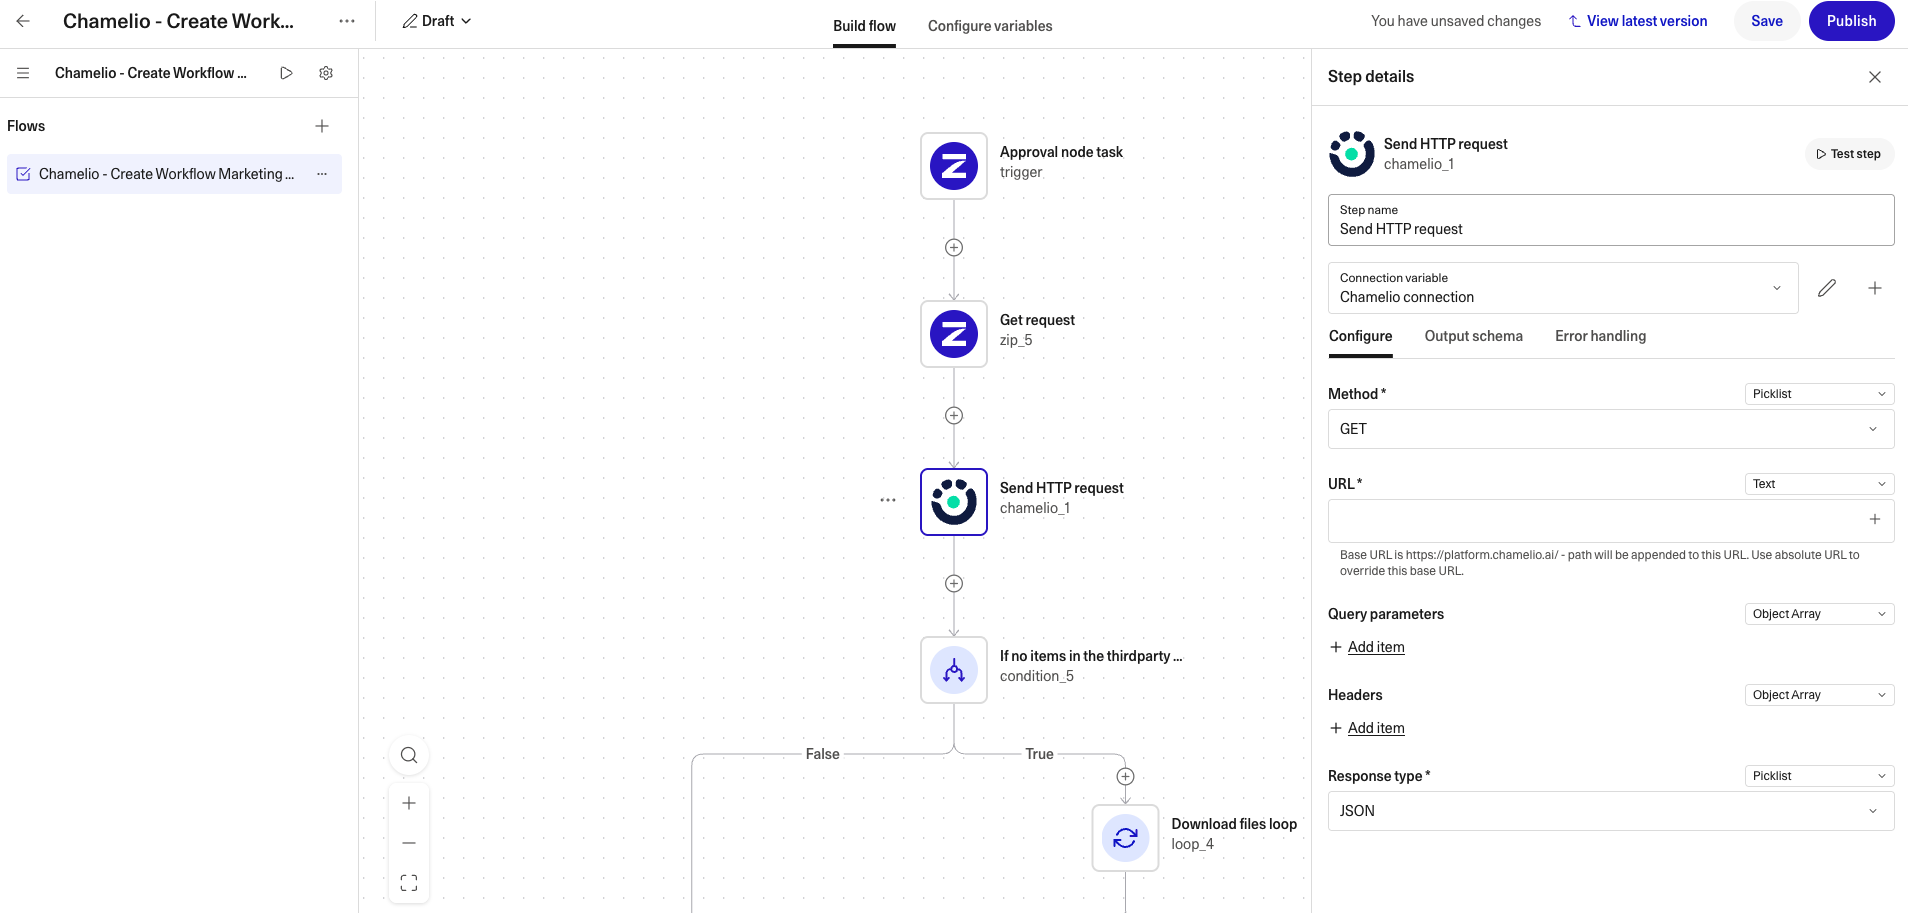
A Zip App Studio custom app that starts a Chamelio flow from a Zip approval step
POST /workflows/{workflow_id}/{version}/initiate, with the key in the X-API-Key header. Send the Zip request ID and workflow ID along with the intake fields from Step 3.
When the app is ready, place it in your Zip approval workflow at the point where legal review belongs, for example for new suppliers or purchases above a threshold.
Step 6: Sync comments with a Zip webhook
Comments from Chamelio reach Zip through the Zip API key you connected in Step 2. For comments made in Zip to reach Chamelio, your Zip admin adds a webhook in Zip:1
Get the webhook URL
Ask your Chamelio legal engineer for your organization’s Zip webhook URL.
2
Add the webhook in Zip
In Zip, go to Company settings > API and add a webhook with that URL. Subscribe it to comment events on requests.
Test the connection
Before you turn it on for everyone, submit a test request in Zip that reaches the legal step. Check that:- A task for your Zip flow appears in Chamelio, with the intake fields filled from the request
- The ZIP Request ID matches the request in Zip
- The request’s files are attached to the task
- A comment added in Zip appears on the task, and a comment on the task appears on the Zip request
Common questions
Who can see Zip flows in Chamelio?
Who can see Zip flows in Chamelio?
Zip flows start from Zip, so they don’t appear on the Flows page for Members and Viewers. Requesters submit through Zip. See Who can see and do what.
How do I change the Zip API key?
How do I change the Zip API key?
Create a new key in Zip, then connect Zip again in Settings > Org Integrations with the new key.